Welcome to SpyderPro – let’s get started!
Say goodbye to color guesswork and hello to effortless screen optimization.
- Download your SpyderPro software
- View the Quick Start Guide & User Guide
- Watch How-to Videos
- Explore FAQs
- Calibrate
Your screen will be optimized in no time!
 Tips to Optimize Calibration
![]() Warm up your monitor 30 minutes before calibrating
Warm up your monitor 30 minutes before calibrating
![]() Calibrate in a dimly lit environment; avoid direct light
Calibrate in a dimly lit environment; avoid direct light
![]() Reset displays to factory defaults if possible
Reset displays to factory defaults if possible
- Find your on-screen display (OSD) menu and locate the “Reset,” “Factory Reset,” or “Recall” option (may vary by display)
- Most laptops and Apple displays will not have this function. You can skip this step for those display types
![]() Turn off Auto Brightness, HDR, and other dynamic modes
Turn off Auto Brightness, HDR, and other dynamic modes
![]() Close all other applications before you begin the calibration process to avoid possible interference
Close all other applications before you begin the calibration process to avoid possible interference
![]() For best results, recalibrate regularly, especially if your output changes, to keep your screen spot-on
For best results, recalibrate regularly, especially if your output changes, to keep your screen spot-on
Proper Placement
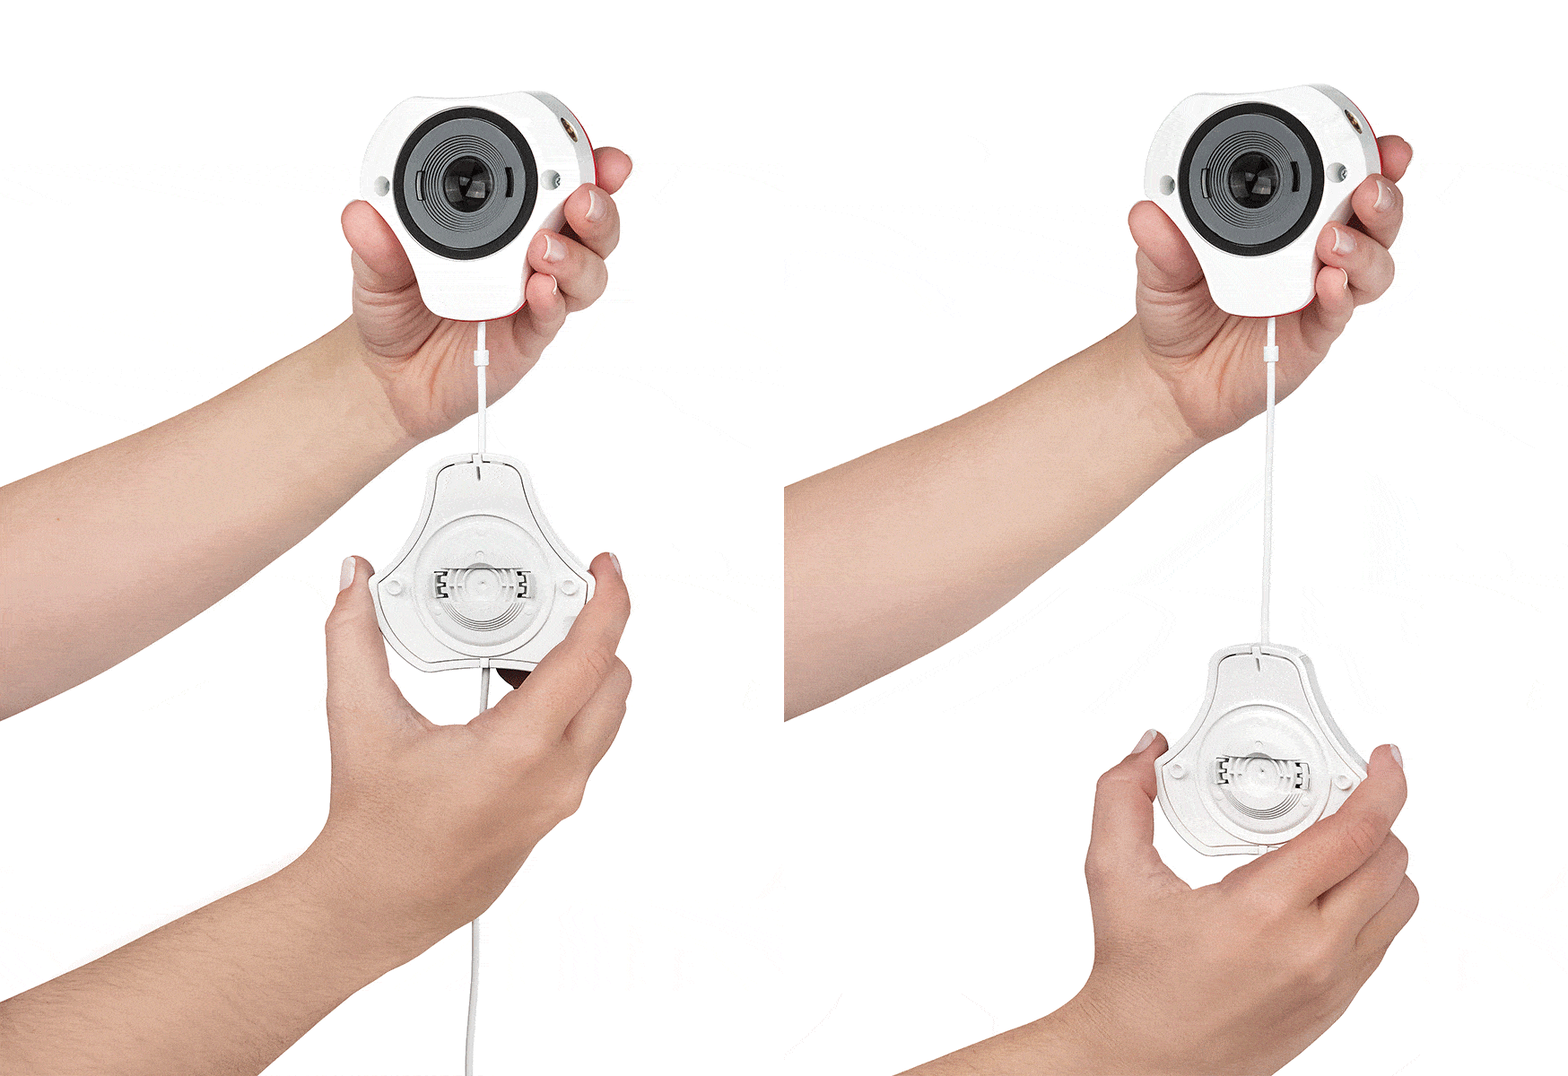
- Remove the lens cap from your SpyderPro.
- The lens cap slides along the cable (as seen below) to be used as a counterweight to keep the sensor in place.
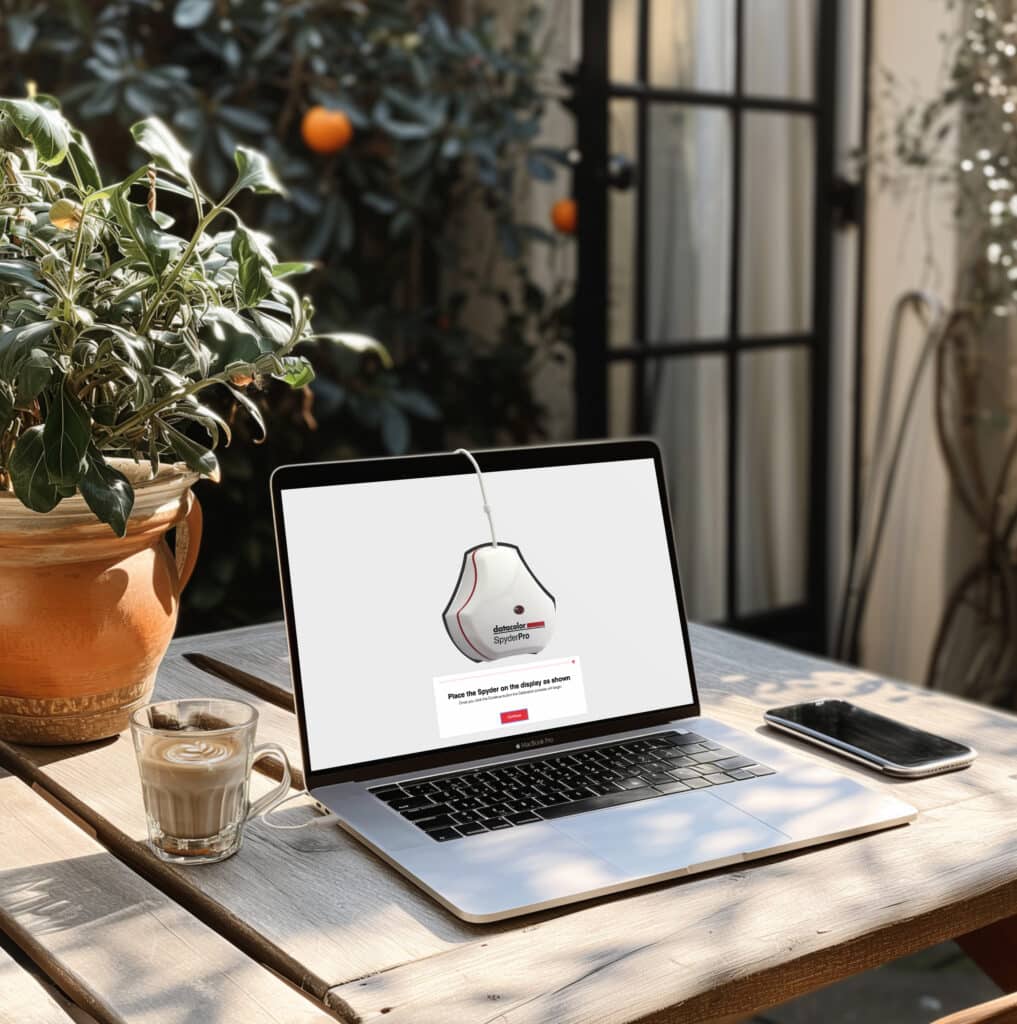
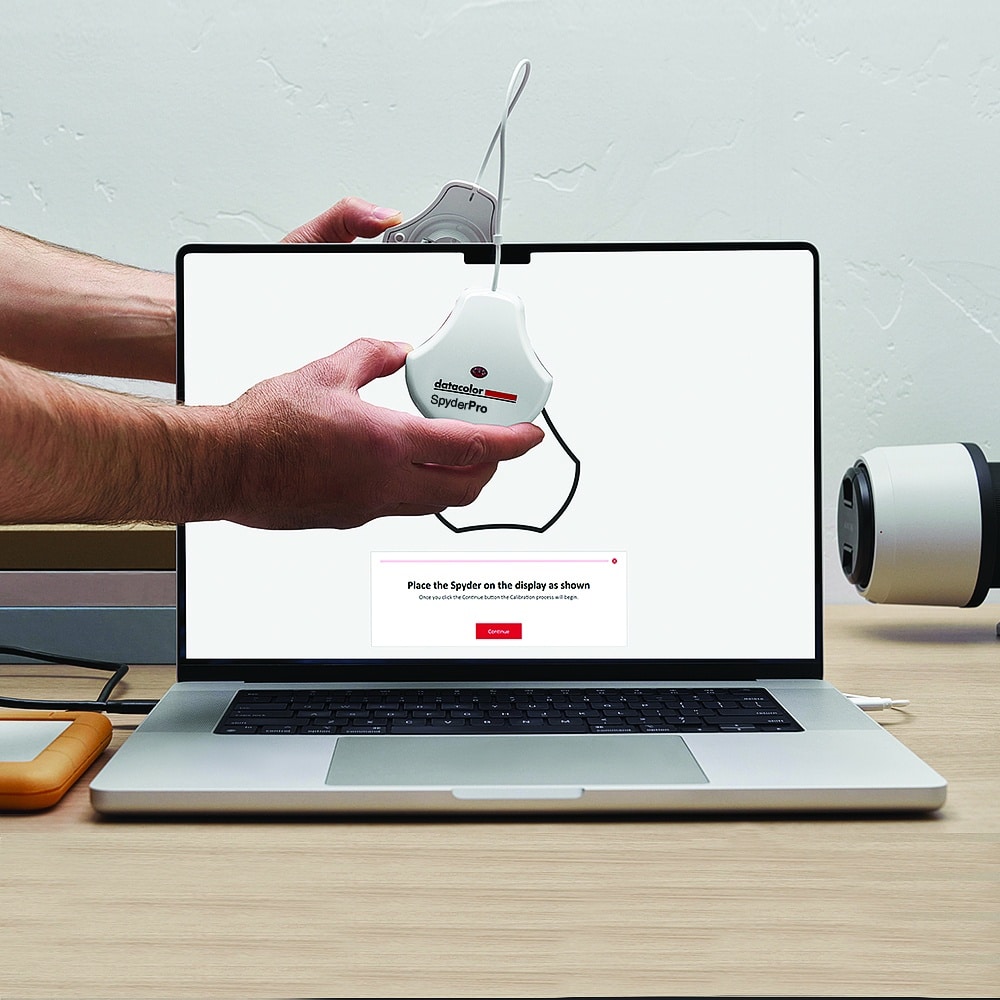
- Hang device over display. It should sit flush within the outline under its own weight, do not hold it against the screen with your hand.
- Tilt your screen back a bit, if necessary, to keep the device flat against your screen.
Download SpyderPro Software
Plug in your Spyder, which includes a native USB-C port, plus an additional USB-A adaptor for convenience.
The software will walk you through the installation process. Note: Your serial number is located in the box under your product.
Review the Datacolor Software License.
All Spyder products include a “Site License”, for a single owner. This allows the owner to install and operate the software on all computers (Mac or Windows), as long as they are owned by the license holder. If the owner has several computers, he/she may operate the Spyder product on all of them. Activating on a computer the purchaser doesn’t own, or operation as a service to others, is prohibited.
How to Calibrate Your Display
Set Up
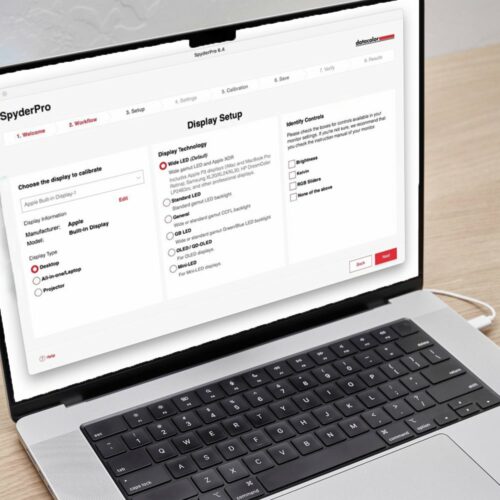
The software guides you through setup in just a few steps to match your workflow for accurate, personalized results every time.
- Workflow
- Display Setup & Controls
- Calibration Settings
Calibrate
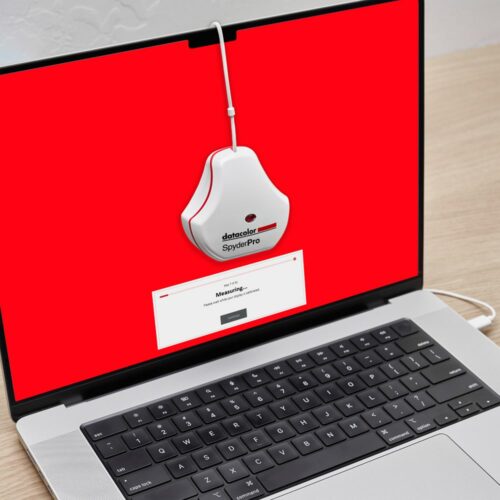
- Remove the lens cap and slide along the cable to act as a counterweight.
- Hang over display within the outline.
- If needed, tilt your screen back slightly to help it sit flush.
- Don’t hold the device—let it rest on the screen.
The software will flash colors to measure your display and create a profile. You can undo the calibration anytime by deleting the profile.
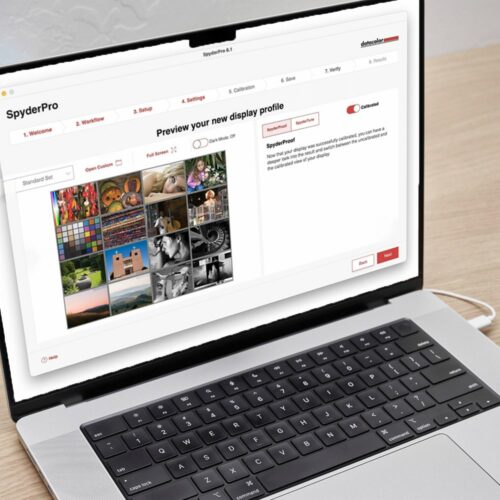
Review your results
You can preview the results by comparing the Calibrated and Uncalibrated views. Toggle between them to see the difference in accuracy.

What to Expect
Your screen might look a bit different—and that’s normal!
Colors may appear more natural, and brightness more balanced, helping your work look more true to life. You’ll see more details in:
- Dark shadows (like night skies)
- Bright highlights (like sunny scenes)
Resources

Feature Highlights
