Compare Portable Spectrophotometers

Which color management tool is right for your application?

More
Compare Portables

Need Help? Contact Us
Category45/0 and SCI Modes all in One InstrumentSphere-based D/8 Geometry – accurate portable spectro for color measurement45/0 Geometry – accurate portable color appearance measurement0/45 Geometry – ideal for special color and NIR measurementsD/8 Geometry – Designed for Retail Paint store use
Unique FeaturesUltra low cost &
Light weight
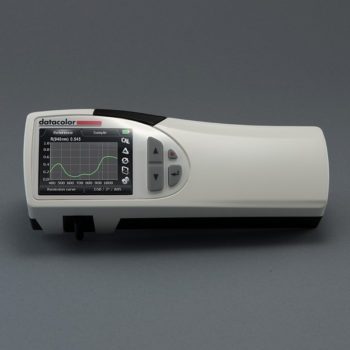
High repeatability, two dual aperture combinations and same master as Datacolor high end benchtops45G comes with build in gloss meter
45S achieves close correlation to visual assessment
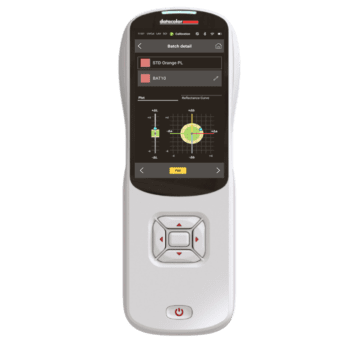
A portable spectrophotometer, a VIS-NIR spectroscopic sensor, and a densitometer; 3-in-1 ideal for the security ink and printing industryHighly accurate measurement of small samples in any location
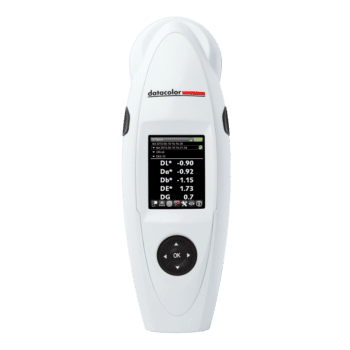
Color Formulation for retail paint for retail paint
Quality Control
Inter-instrument Agreement –
Reflectance Measurements (CIELAB)
0.15 (avg)
0.25 (max)
0.15 (avg)
0.25 (max)
Density: 0.01 D
Colorimetric: 0.3 CIElab dE*ab
Near IR +/- 0.5 %R (700 to 1000 nm)
0.20 (avg)
20 Read Repeatability on White Tile using Double Flash (CIELAB)0.03 SD / 0.15 Max<0.03 (max)<0.01 (max)N/A0.05 (avg)
IndustriesRetail paint stores looking to sell more paint with ultra affordabilityRetail brands & Textile Mills; Paint and coating, Plastics, cosmetics, flooring, ceramics, furniture and wall covering

Business that requires the highest repeatability and inter-instrument agreement in a Portable sphere instrument, especially as an extension to their benchtop fleet.
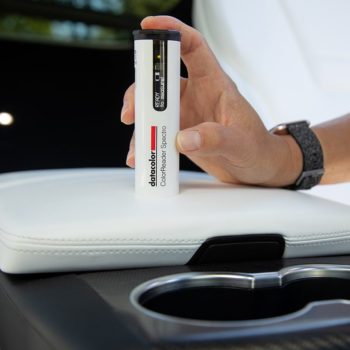
Automotive interiors:
Coil coatings;
Footwear brands & suppliers;
Retail hard goods; building materials

Industries where the total appearance of multiple components and/or glossy or shiny materials is important.
Security Ink, printing industryRetail paint stores
Hardware store with paint departments
Big box stores with paint departments

FREQUENTLY ASKED QUESTIONS

Explore General Spectrophotometer FAQs

See All FAQs

Status code ’00211’ is an indicator that the green tile result is high. This is an indicator that the instrument has a problem or if it is a loaner or recently serviced instrument the green tile data needs to be deleted and reset.
The LCD Status Display includes a color coded (green, yellow, red) Instrument Status bar. Normally, this bar will be green in color and the Status Codes field will be blank. Certain conditions, including the ones listed below, may cause the Instrument Status bar to be yellow or red in color. Corresponding Status Codes will also be displayed. Should these conditions occur, please contact your local Datacolor office for more information and guidance regarding next steps.

Item Condition Code and Color
Age of White Tile

(Replacement recommended yearly)

10-12 months old 00111; Yellow
> 12 months old 00121; Red

Control Measurements

(Taken during Calibration)

dE > .5 for a given set of measurement conditions. 00212; Red
.5 >= dE >= .35 for a given set of measurement conditions. 00211; Yellow
Time since last Maintenance and Certification > 12 months 00311; Yellow

Inter-instrument agreement refers to how close two or more color measurement instruments (spectrophotometers) of similar model read the same color. Read all about it here: Why should you care about Inter-Instrument Agreement? | Datacolor

Check that the black trap is clean and well positioned.
Check that the Checkbox Autozoom is ticked in the calibration window. When the Autozoom is not ticked, the instrument does not recognize the aperture and if the user changes it, the instrument will not focus on the hole. This will give an error.

Any sophisticated piece of equipment requires routine maintenance and specific conditions to perform at its optimal level. Read this guide Spectrophotometer Best Practices for Accurate Measurements | Datacolor and download the paper for more detailed information.

To provide accurate data, your spectrophotometer needs to be well-maintained. This includes calibrating it daily, at the start of a shift, or before beginning any important measurement job. Here’s what you need to know about calibration tiles: How to Store, Use and Clean Your Calibration Tiles | Datacolor

Please follow this instructions to install new calibration data for older instruments.

If you have a failure on the green tile, then please check the following items.

  1. Clean the green tile with a soft paper tissue
  2. Check the green tile for scratches.
  3. Clean also the white tile with a soft paper tissue.
  4. Check on the calibration screen of the software which aperture is selected.
  5. Now verify that the same aperture is on the instrument.
  6. If that is correct recalibrate the instrument.
  7. If you still have a failure, call your Datacolor representative

This means your unit has lost the calibration file, and you need to follow these instructions to install new calibration data. This only applies to older instruments as all of our white tile data is now stored on the instrument firmware.

The attached document should lead a user through more details about the terminology, determination, and limitations of such whiteness indices and material standards

Cause: The instrument does not communicate with the PC, the instrument goes automatically on Simulus mode.

Solutions: Check the cable, Restart the instrument, and check your instrument configuration and calibration (Page 3 of the Tools Quick Start Guide).

If not fixed, contact your Datacolor local support.

This error is caused by never Hot-Syncing a Check unit to a computer. To bypass a Hot Sync to a computer, there is a function on the Check called: Purge All Deleted.
This option is on the Check’s Help menu. If you have been deleting unneeded samples all the time, but the unit was never hot-synced to a PC, the ’deleted’ samples are not permanently removed from memory. The Purge function completely removes them from memory. On the Datacolor menu, tap on upper left corner, then tap on Help, Purge All deleted.

Cause: User inadvertently used fluorescent tile during calibration instead of White ceramic tile.
Solution: Calibrate the instrument with the correct White tile. And check your instrument configuration and calibration (Page 3 of the Tools Quick Start Guide).

Learn the Basics About Spectrophotometers

Why are they important in an industrial manufacturing setting? What are best practices for measurement technique, standard operating procedures, and environment? Learn all of this and more.

Gain the Insights

Generic footer

Still Need Help Deciding?

Send us a message — color can’t wait.

More